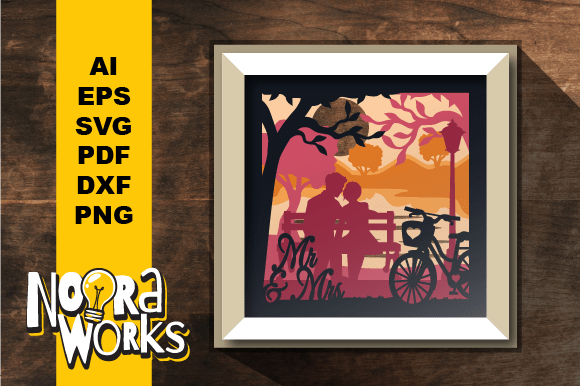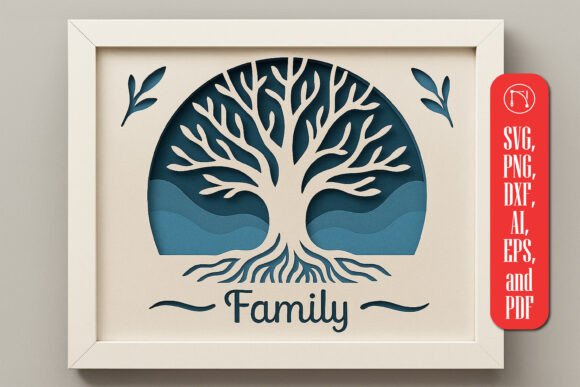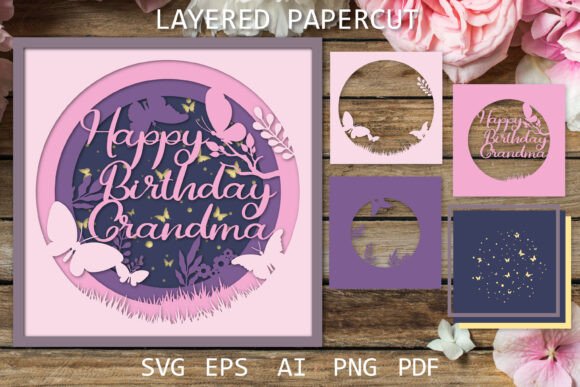
Crafting Memories: The Art of the Layered Papercut Happy Birthday Grandma
There is a distinct warmth in giving a handmade gift, a tangible expression of love that store-bought cards simply cannot replicate. When it comes to celebrating a matriarch, the Layered Papercut Happy Birthday Grandma design offers a sophisticated yet deeply personal way to honor her special day. This isn't just about cutting paper; it is about creating depth, shadow, and narrative through layers of intricate detail. Whether you are a seasoned papercraft enthusiast or a beginner looking to elevate your greeting card game, understanding the nuances of this specific design can transform a simple project into a cherished keepsake.
The Allure of 3D Depth in Paper Crafting
Traditional flat cards have their place, but the modern crafter often seeks dimension. The concept behind the Papercut 3D technique is to build a scene that draws the eye inward. By stacking multiple layers of paper, each slightly different in cut and color, you create a shadow box effect that mimics depth perception. For a birthday tribute to a grandmother, this depth symbolizes the layers of wisdom, experience, and love she has accumulated over the years.
The specific design featuring a Forest Butterfly motif adds a layer of symbolic meaning. Butterflies often represent transformation, grace, and the soul’s journey. Placing this delicate creature within a forest setting creates a serene, natural atmosphere that many grandmothers appreciate. It moves away from cliché birthday imagery and toward something more artistic and contemplative. When executed correctly, the interplay of light and shadow across these layers turns a static image into a dynamic visual experience.
Understanding the Digital Assets: What You Receive
Before diving into the physical creation, it is crucial to understand the digital foundation of this project. The files for the Happy Birthday Grandma Layered papercut are delivered in a compressed ZIP file. This is standard practice for high-quality digital craft assets, ensuring that all components remain organized and intact during download. Once downloaded, you must extract the files to access the individual formats. Ignoring this step is a common hurdle for beginners, so ensure your device has software capable of unzipping archives.
The versatility of this package lies in its comprehensive file formats. You are not limited to one type of workflow. The inclusion of vector files means that scalability is never an issue. Whether you want to create a small greeting card or a large wall-hanging shadow box, the quality remains crisp. Vector formats allow you to change the size and color easily without any loss of resolution, a critical feature for customizing the gift to match your grandmother’s favorite colors or home decor.
Breakdown of File Formats
- EPS10 and AI Files: These are industry-standard vector formats compatible with Adobe Illustrator and other professional design software. They contain colored separated layers, making it easy to visualize the final product before cutting.
- PDF Files: Ideal for those who prefer a universal format. These include colored separated layers and, importantly, contour lines. One folder contains flipped layers, which are ready to print for hand paper cutting, simplifying the tracing process.
- SVG Files: The gold standard for digital cutting machines like Cricut or Silhouette. These files come with colored and black separated layers. Like the PDFs, they include a folder with flipped layers and contours, making them ready to print for hand paper cutting if you prefer manual precision over machine automation.
- PNG Files: High-quality raster images at 3000x3000 px with transparent backgrounds. These are perfect for digital mockups or if you wish to print the layers directly onto colored paper without needing vector editing software. They include both colored and black separated layers.
Workflow Integration: From Screen to Shadow Box
Integrating this Paper cut template for crafts into your workflow depends largely on your preferred method of creation. For those using electronic cutting machines, the SVG files are the most efficient route. You can import the separated layers directly into your machine’s software, assign cut lines, and let the machine do the heavy lifting. However, even with machine assistance, the assembly requires a human touch. The "flipped layers" provided in the SVG and PDF folders are particularly useful here, as they account for the reverse side of the paper when gluing, ensuring that any text or directional elements appear correctly in the final 3D composition.
If you are a purist who enjoys the meditative process of hand-cutting, the PDF and PNG files with contours are invaluable. Printing these outlines onto sturdy cardstock allows you to use a sharp craft knife and cutting mat to carefully remove the negative space. The design includes small details, so patience is key. Using a fresh blade for intricate curves, such as the wings of the Forest Butterfly papercut, ensures clean edges that enhance the overall professionalism of the piece.
Design Considerations and Practical Tips
While the Welcome Shadow box aesthetic is stunning, it requires careful planning regarding materials. Since the design relies on layering, the thickness of your paper matters. Standard cardstock (around 65-80 lb) is usually ideal. It is thick enough to hold its shape and create distinct shadows but thin enough to stack multiple layers without making the frame too deep or bulky. If you choose heavier paper, be mindful that the cumulative height of the layers might exceed the depth of standard shadow box frames.
Color selection plays a pivotal role in the success of the Layered Papercut Happy Birthday Grandma project. The provided files offer colored layers as a guide, but you are encouraged to experiment. Monochromatic schemes using varying shades of blue or green can create a subtle, elegant look that highlights the texture of the paper. Alternatively, contrasting colors can make the butterfly pop against the forest background. Remember that darker papers tend to absorb light, creating deeper shadows, while lighter papers reflect light, offering a softer, more ethereal appearance.
Assembly Best Practices
- Preparation: Lay out all cut pieces in order before gluing. This helps you visualize the sequence and catch any missing elements early.
- Adhesives: Use foam tape or double-sided adhesive dots between layers rather than liquid glue. This maintains consistent spacing, which is essential for the 3D effect and prevents warping.
- Alignment: Work from the back layer to the front. Ensure each layer is perfectly centered relative to the frame or the previous layer. Even a millimeter of misalignment can be noticeable in the final product.
- Patience with Details: As noted, this design includes small details. Take your time when weeding out tiny pieces of paper from the cut layers. A pair of tweezers can be incredibly helpful for removing small negative spaces without tearing the surrounding paper.
Why This Design Resonates
In an era of digital communication, a physical object carries weight. The Paper cut tradition has roots in various cultures, often used for festivals and celebrations. Adapting this traditional art form for a modern birthday celebration bridges the gap between heritage and contemporary design. It shows effort, thoughtfulness, and skill. For a grandmother, receiving a gift that required hours of careful planning and execution speaks volumes about the relationship.
Furthermore, the modularity of the files means this isn't a one-time use asset. Once you master the Happy Birthday Grandma Layered papercut, you can adapt the techniques learned here for other occasions. The skills developed in handling vector files, managing layers, and assembling 3D structures are transferable to other crafting projects. You might find yourself creating similar shadow boxes for anniversaries, holidays, or new baby announcements.
Ultimately, the value of this template lies in its balance of accessibility and complexity. It is approachable enough for those new to layered papercutting due to the clear file organization and pre-separated layers, yet detailed enough to challenge and satisfy experienced crafters. The result is a piece of art that is not just a card, but a decorative item that can be displayed proudly on a mantle or desk, serving as a daily reminder of love and appreciation.
When you choose to work with this design, you are investing in a creative process that rewards attention to detail. The high-resolution 3000x3000 px files ensure that no matter how you choose to print or cut, the integrity of the design remains intact. From the delicate veins of the butterfly wings to the textured appearance of the forest floor, every element is designed to contribute to a cohesive and beautiful whole. Embrace the precision, enjoy the process, and create a birthday tribute that is as unique as the grandmother it celebrates.